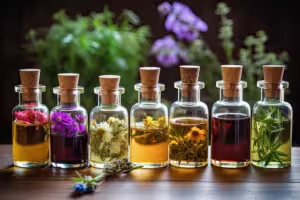
Discover the Essence of Herbal Aesthetics
Indulge in the artistry of nature’s botanical wonders. Elevate your senses with pure herbal remedies, crafted for both beauty and well-being.
Revitalize with Nature’s Bounty
In a world filled with artificial solutions, there’s a simpler, purer path to well-being—one rooted in the healing power of nature. Welcome to Nature’s Bounty, where the earth’s finest herbs and botanicals are harnessed to rejuvenate your body, mind, and spirit. Explore time-tested remedies that blend ancient wisdom with modern wellness, providing you with the ultimate natural solutions for vitality, balance, and radiance. Let the pure offerings of nature restore and refresh you, guiding you back to a healthier, more vibrant self.
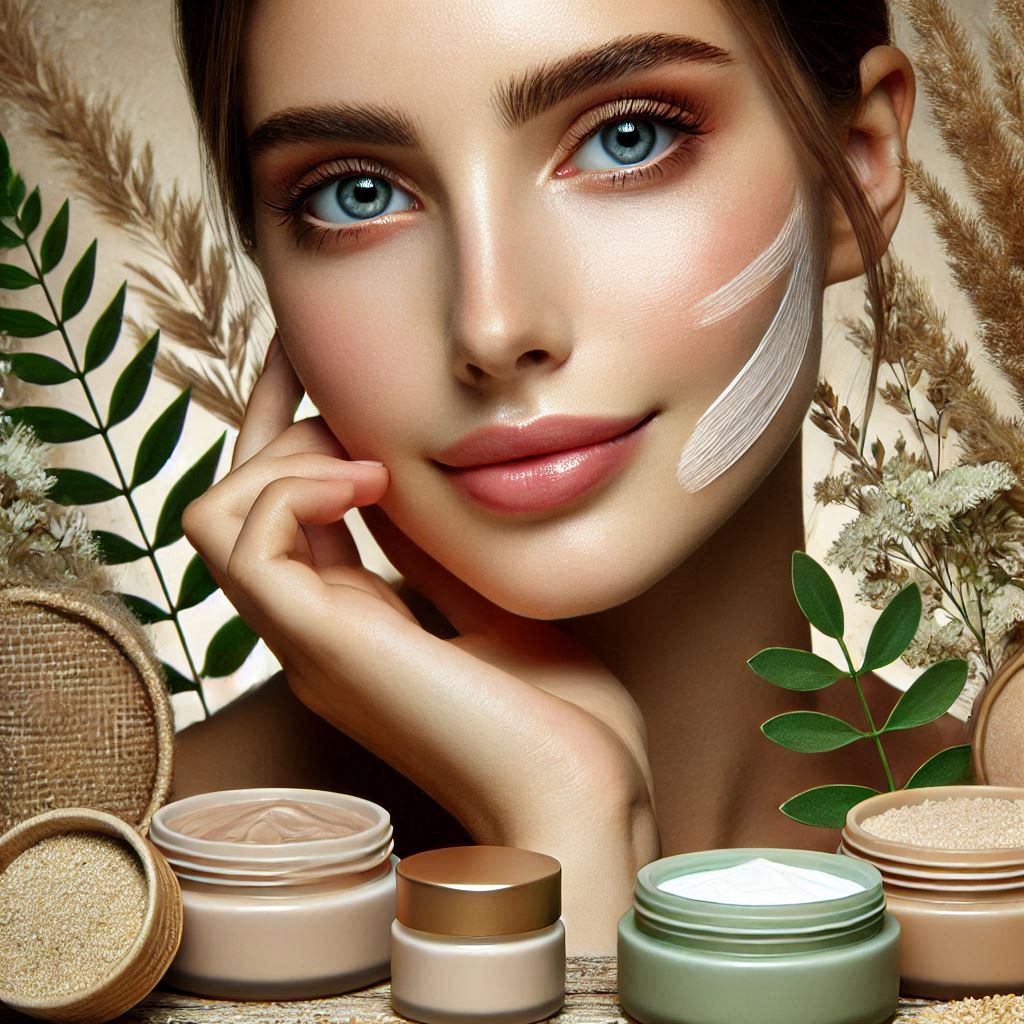
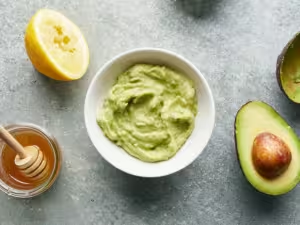
SkinCare
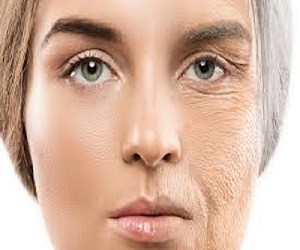
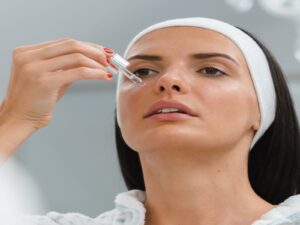
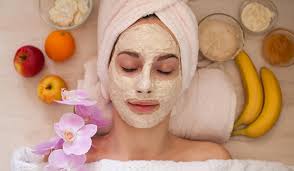
Nature’s Best for Your Skin
At our Skincare section, we are dedicated to offering you natural, effective solutions tailored to meet all your skin’s needs. We understand the importance of nurturing your skin with the best that nature has to offer, which is why our carefully curated collection of remedies and expert tips are designed to help you achieve healthy, glowing skin—without relying on harsh chemicals or artificial additives. Explore our wide range of rejuvenating face masks, nourishing moisturizers, gentle exfoliants, and soothing treatments, each crafted from high-quality, plant-based ingredients that you can trust. Whether you’re looking to deeply hydrate, repair damage, protect from environmental stressors, or simply maintain a balanced complexion, our products are formulated to gently yet effectively care for your skin. Each product is designed to enhance your natural beauty, giving you the confidence of a radiant, healthy glow every day. Because your skin deserves nothing less than the very best that nature can provide.
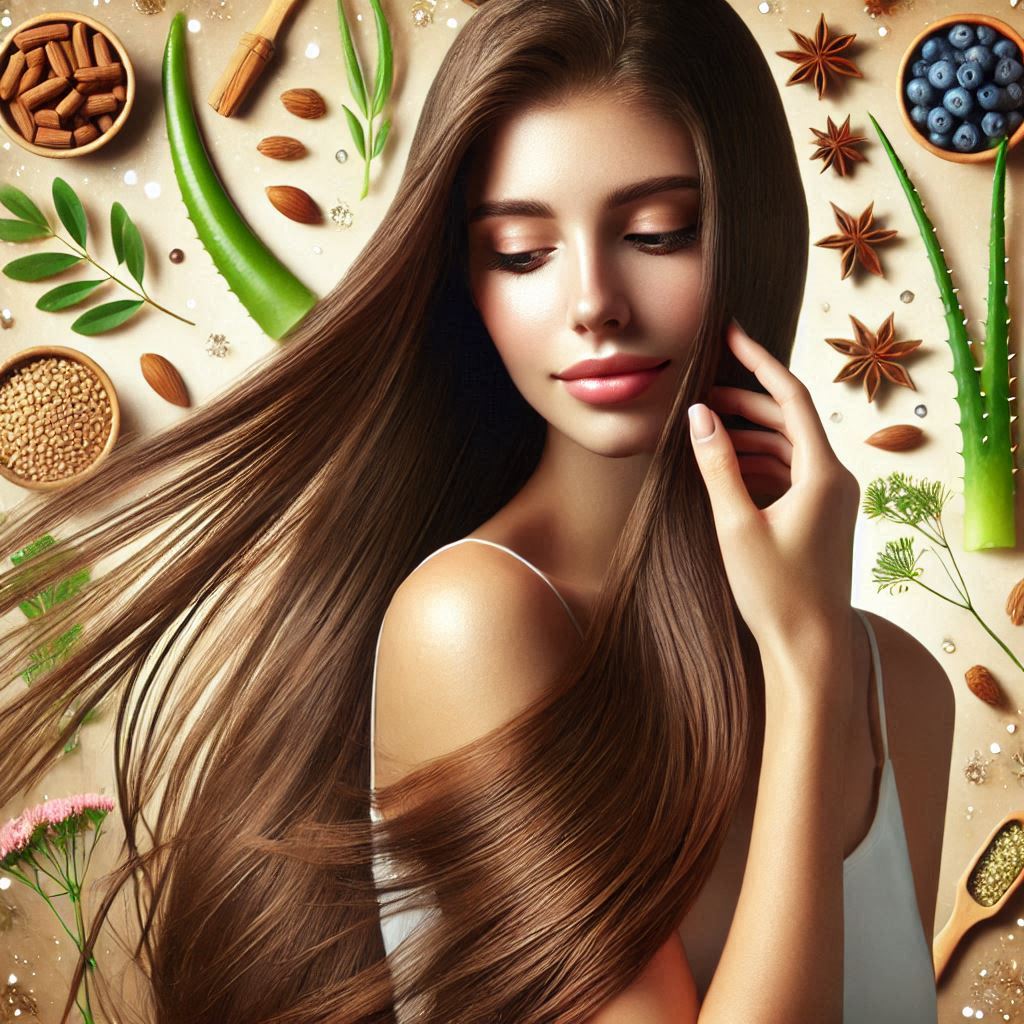
Hair Care
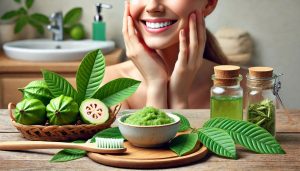
Nourish and Strengthen Naturally
In our Hair Care section, we are dedicated to providing you with the finest natural solutions to nourish, strengthen, and revitalize your hair. Embrace the transformative power of nature and say goodbye to dull, lifeless strands. Our carefully selected remedies and expert tips are designed to restore your hair’s vitality and enhance its natural beauty. From moisturizing shampoos to strengthening serums and deep conditioning treatments, our products harness the benefits of plant-based ingredients you can trust. Whether you’re looking to repair damage, add shine, or maintain healthy hair, our natural solutions promise a luxurious and effective hair care experience. Treat your hair to the nourishment it deserves, and enjoy the confidence of beautiful, healthy locks every day.
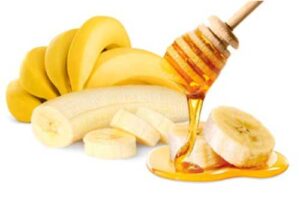
Body Care
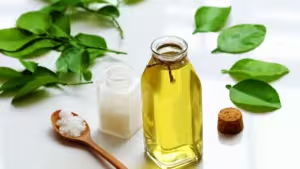
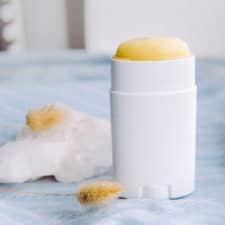
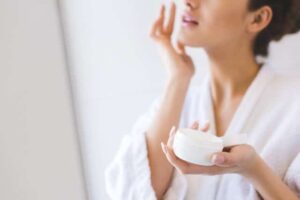
Pamper and Protect Your Skin
In our Body Care section, we offer a carefully curated selection of natural remedies and expert tips designed to help you pamper, protect, and rejuvenate your skin. Experience the transformative benefits of pure, plant-based ingredients that deeply hydrate, repair, and nourish your skin from head to toe. Our products are created without harsh chemicals, allowing you to indulge in effective body care that promotes softness, smoothness, and a radiant glow. Whether you’re looking to deeply moisturize dry skin, exfoliate for a refreshed feeling, or protect your skin from the elements, our body care solutions provide gentle yet powerful nourishment. From rich body butters to soothing oils and exfoliating scrubs, every product is designed to offer a luxurious and effective experience. Embrace natural beauty and give your skin the care it deserves, ensuring it remains healthy, radiant, and pampered every day.

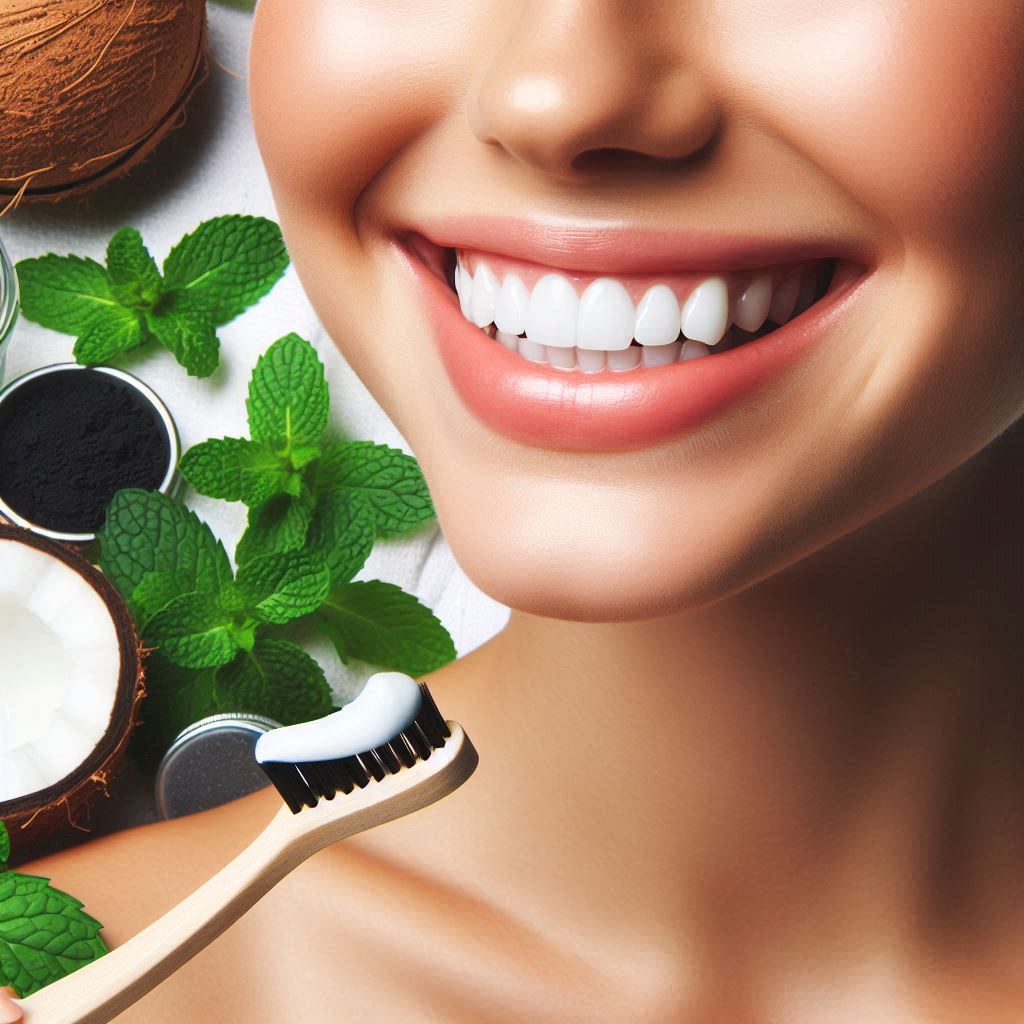
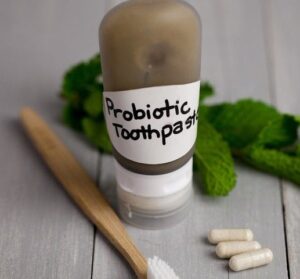
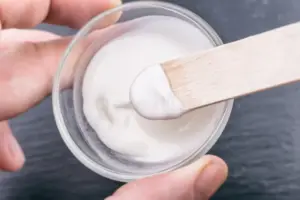
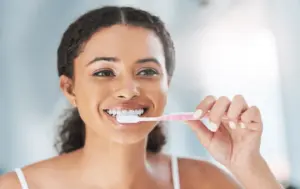
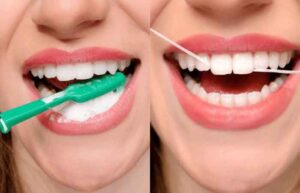
Oral Care
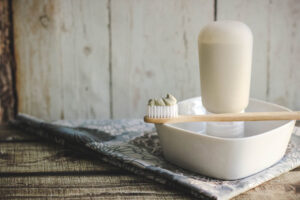
Shine Bright With Natural Smile
In our Oral Care section, we invite you to discover the path to a radiant and healthy smile with natural, effective solutions. We believe that maintaining strong teeth, healthy gums, and fresh breath should be both simple and powerful. Say goodbye to harsh chemicals and embrace the natural ingredients that can keep your mouth in top condition. Our expert tips and carefully selected products, from fluoride-free toothpaste to soothing mouth rinses, are designed to help you create a gentle yet effective oral care routine. Experience the benefits of nature’s finest ingredients, like activated charcoal, coconut oil, and herbal extracts, to cleanse, protect, and brighten your smile. With our trusted recommendations, you can feel confident, refreshed, and ready to shine, knowing your oral health is in good hands.
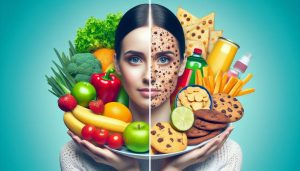


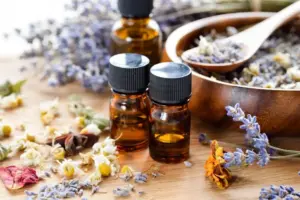


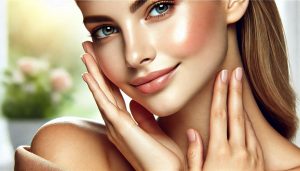

Why Choose Natural Beauty?
Natural beauty products offer numerous benefits, including fewer harsh chemicals, sustainability, and the power of nature’s best ingredients. By incorporating natural remedies into your beauty routine, you can achieve stunning results while being kind to your skin and the environment.